


How to Assemble RTA Cabinets
Tools Needed:
Rubber mallet
Screwdriver (Phillips)
Cordless drill with bits
Tape measure (optional)
Level (optional)
Clamps (optional)
Carpenter’s square (optional)
Watch the entire process of putting together a cabinet that we ship to you. We have other videos on our YouTube Channel
Step 1
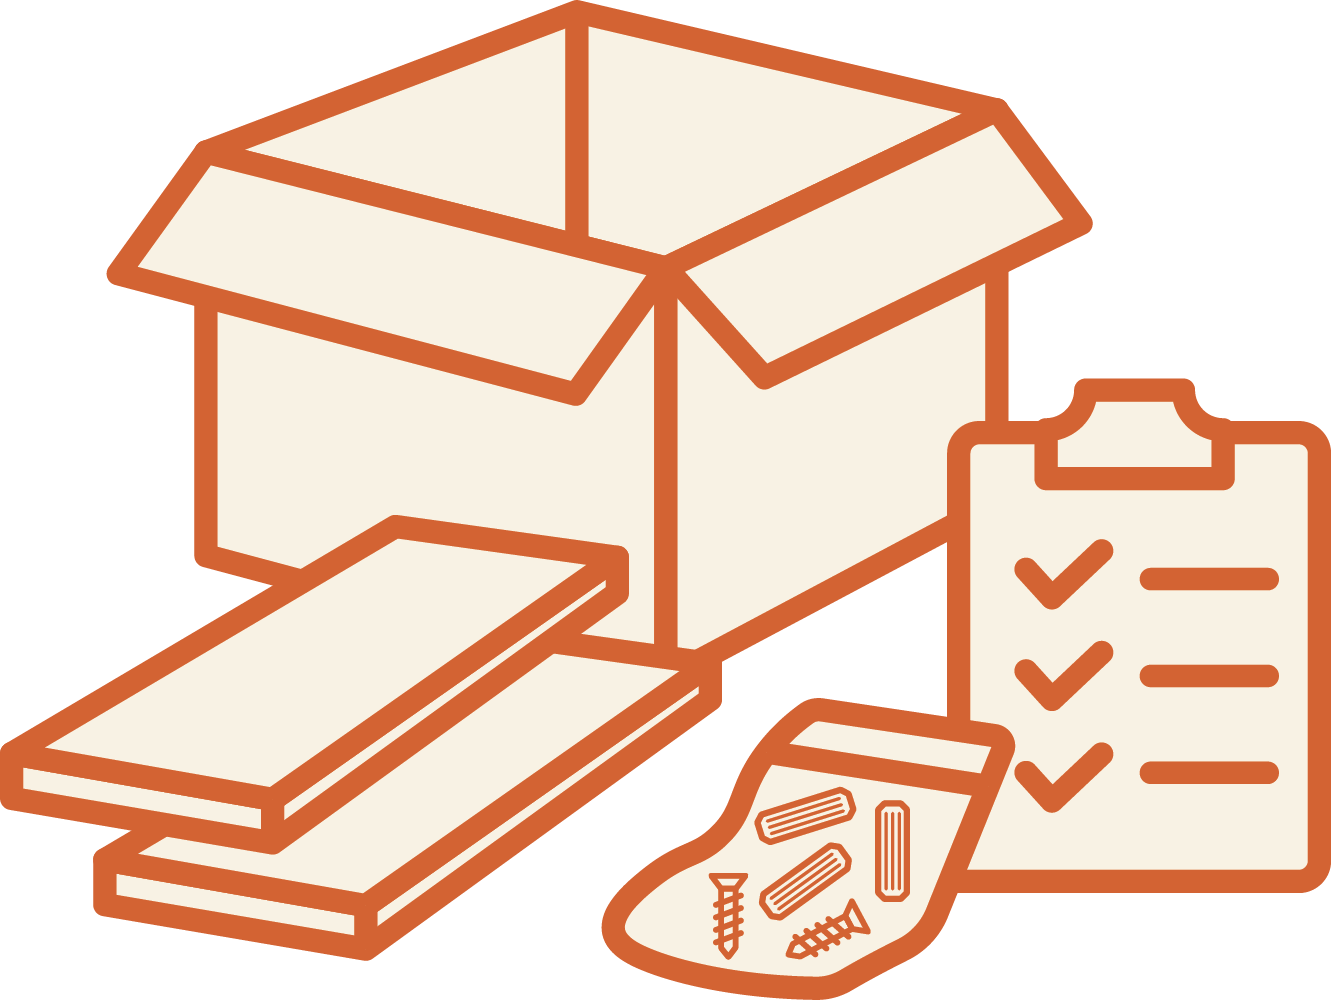
Unpack & Organize — Do not skip
Carefully unpack all cabinet parts and hardware.
Lay everything out in a clean, open area.
Compare each item to the packing list and instructions to make sure nothing is missing or damaged before you begin assembly.
This step helps avoid surprises during installation.

Step 2
Prep for Assembly
Since dowels are pre-inserted, simply identify each panel and check that dowels are intact and properly positioned.
This is also a good time to line up your panels in the correct orientation before securing them.

Step 3
Assemble the Box
Align the cabinet sides, bottom, and top by matching the dowels to the corresponding holes. Secure parts together using confirmat screws.

Step 4
Secure the Back Panel
Slide the back panel into the grooves.
This step adds stability to the cabinet box.

Step 5
Install Drawers & Shelves
Assemble the drawer boxes, attach slides to the cabinet sides, and insert adjustable shelves into the pre-drilled peg holes.

Step 6
Attach Doors & Hinges
Secure the hinges to the doors using the pre-drilled holes. Attach doors to the cabinet box and adjust hinge screws as needed to ensure proper alignment.

Step 7
Final Check
Make sure all connections are tight and the cabinet is square. Use a level to confirm it sits evenly before installing it in place.